初学者教程:太空射击游戏
本教程将帮助您熟悉GDevelop的工作方式。在本教程中,我们将创建一个非常基本的太空射击游戏,其中敌人会随机生成,玩家必须摧毁它们以获得更高的得分。每个级别都有一个目标分数,在达到该分数后将进入下一级。
要了解软件的基础知识,您可以查看这里以获取更多信息。在本教程中,我们将使用单独的场景来构建开始屏幕和级别场景。本教程的第一部分旨在创建游戏菜单。
下载GDevelop
如果您还没有GDevelop,请从官方网站下载:GDevelop应用。建议始终查看页面获取最新版本的GDevelop,并始终保持软件更新。
主要游戏元素
☆玩家精灵
这是我们,用户,将要控制的主要角色/对象。玩家精灵或玩家飞船只能侧向移动以躲避敌人或瞄准它们。它可以发射抛射物来伤害敌人以获得更高分数。
☆敌人
这些将是随机生成的敌人飞船和小行星。它们需要被玩家飞船摧毁以获得更高分数。这些敌人还会在与玩家碰撞时对玩家造成伤害。
☆得分显示
此文本块在玩家成功摧毁敌人时更新并显示得分。这还表示级别是否已清除,因为我们希望为每个级别设定一个目标分数。
☆移动背景
由于我们的玩家只能侧向移动,我们需要移动背景,从而给人一种玩家飞船向前移动的感觉。
为制作游戏,您需要用于制作玩家精灵、敌人和背景的资源。在这个游戏中,您可以在这里找到所有您需要的资源:点击这里。
步骤1:创建一个新项目
在开始屏幕上,单击“创建新项目”按钮。这样做后,将出现“创建新游戏”对话框。接下来,向下滚动并找到“空白游戏”选项卡。单击它以打开新项目。
步骤2:创建一个新场景
游戏依赖场景来展示不同的游戏玩法场景。我们可以制作和使用多个场景,但在本教程中,我们将使用2个场景。让我们开始并创建此游戏所需的场景。
点击“单击添加场景”处以创建您的第一个空场景。
每个游戏都需要在游戏中使用的资源。对于这个游戏,资源已经在本教程中提供给您了。
步骤3:开始场景
在本教程的这一部分,我们将为我们的游戏创建一个开始菜单。单击上一步中创建的第一个场景,打开场景编辑器,在那里我们将制作游戏元素。
您应该看到对象标签和属性标签。如果不小心找不到这些标签,请单击左侧显示的图标以打开“对象”标签。同样,单击右侧的图标以打开“属性”标签。
我们将要创建的游戏菜单将有一些文本对象来显示游戏名称和一个按钮来开始游戏。
步骤4:创建游戏菜单
首先让我们为我们的菜单场景添加基本设计。现在让我们使用此教程中之前提供给您的资源。让我们添加我们的第一个对象。* * *
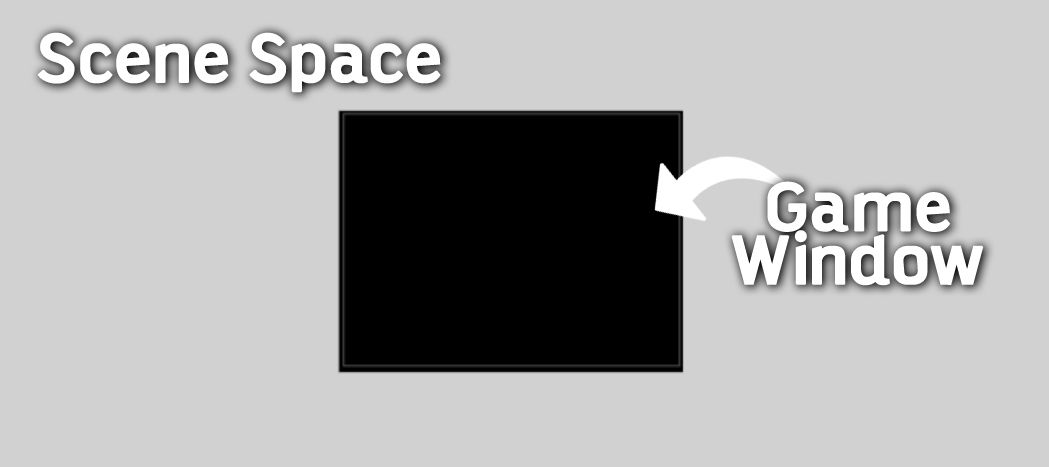
Now, simply drag and drop the Background object to the Scene Space. You will notice that there is a greyish black border in the scene space. That is the Game Window. Objects outside of this window exist but cannot be seen while playing the game. Resize/Rescale the Panel Sprite object to fill the entire Game Window. The scene editor will look something like the image shown below.

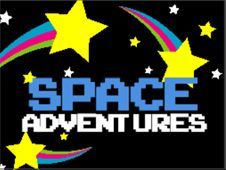
 In a similar way, add more image assets and design your Game menu screen. Design involves creativity and imagination, so keep trying variations of designs to see which looks the best for your game. You will notice I added two Text Objects for displaying Space Adventures. To add Text objects, click on add a new object and choose type Text. You can customize it as you like. After you are done editing the text, click Apply. Then simply drag and drop the text object to the scene space.
We will now add a Button which when clicked will start the game. In technical sense, it will take the player to the gameplay scene. The scene, being referred to, is NewScene2 which we created earlier.
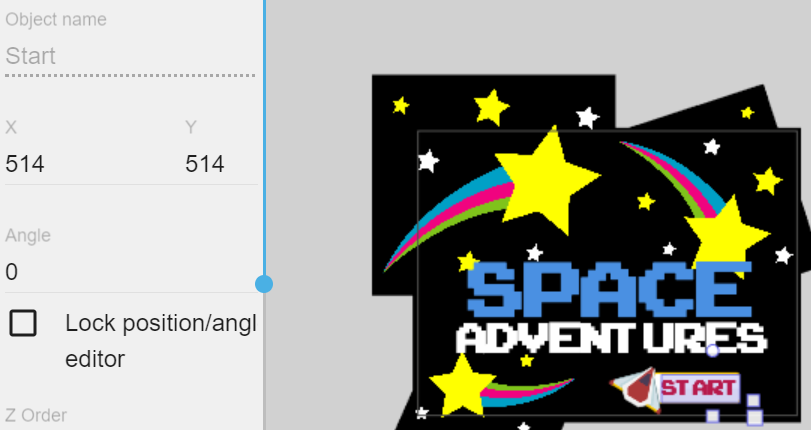
First off, we create a button using the same Panel Sprite object we used earlier. It's a part of UI (User Interface) which is very important as it makes the game look better. Add another text object which displays "Start" and place it on the button UI. It will look something like this.

Now, it's time to make the button functional. We will now start working with events.
Events are what we use to create the rules of any games in GDevelop. This is what makes GDevelop special compared to traditional game engines. Events in GDevelop allow you to visually program your game without any programming knowledge or experience, so people with any background will be able to create the actual game-play and allow players to interact with the game.
 That being said, let's make our first event. Move on to NewScene(Events) tab by clicking on the mentioned tab. Then click on the icon shown on the left to create an empty Event.
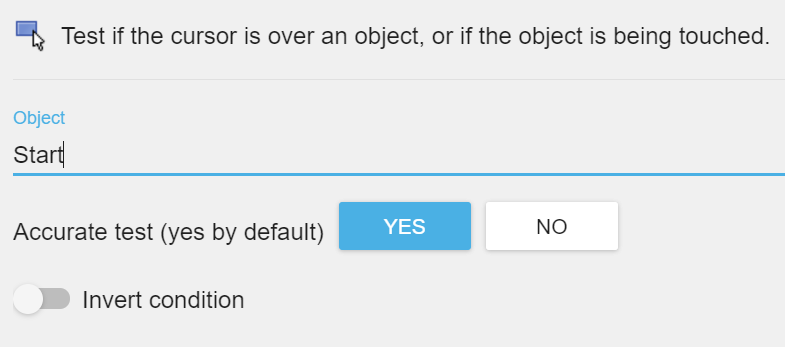
For our first condition, we want to detect whether the cursor is over the Start button. To do that, we need to add a condition. Click on Add a condition and search for the Mouse and Touch category. Choose The cursor/touch is on an object condition and select the object this condition corresponds to. It's the Start object, in this case.

Similarly, add another condition to detect a mouse button press. Click on Add a condition and search for the Mouse and Touch category. Choose the Mouse button pressed or touch held option and select the Left(primary) button to test.

The two conditions combined checks for the left mouse button press on the Start object. Now, we need to add an action which changes the current scene to the game-play scene.
To add this action, search and click on Scene→Change the Scene. Then type in the name of the next scene, which is NewScene2, in our case. Make sure to write scene names within quotes("").
The event now looks something like this:

 It's now time to see how the created event actually works. Click on the
 Play button to Preview the Project. A preview window opens up, where we can test the various functions in our game. The preview window shows us exactly how the game looks and performs while in action.
You will notice that when you click on the Start button, it takes you to the new empty scene.
... And there we have it: our basic game start menu. In the next part of the tutorial, we are going to work on the main game scene. Check out the next part of this tutorial here.